
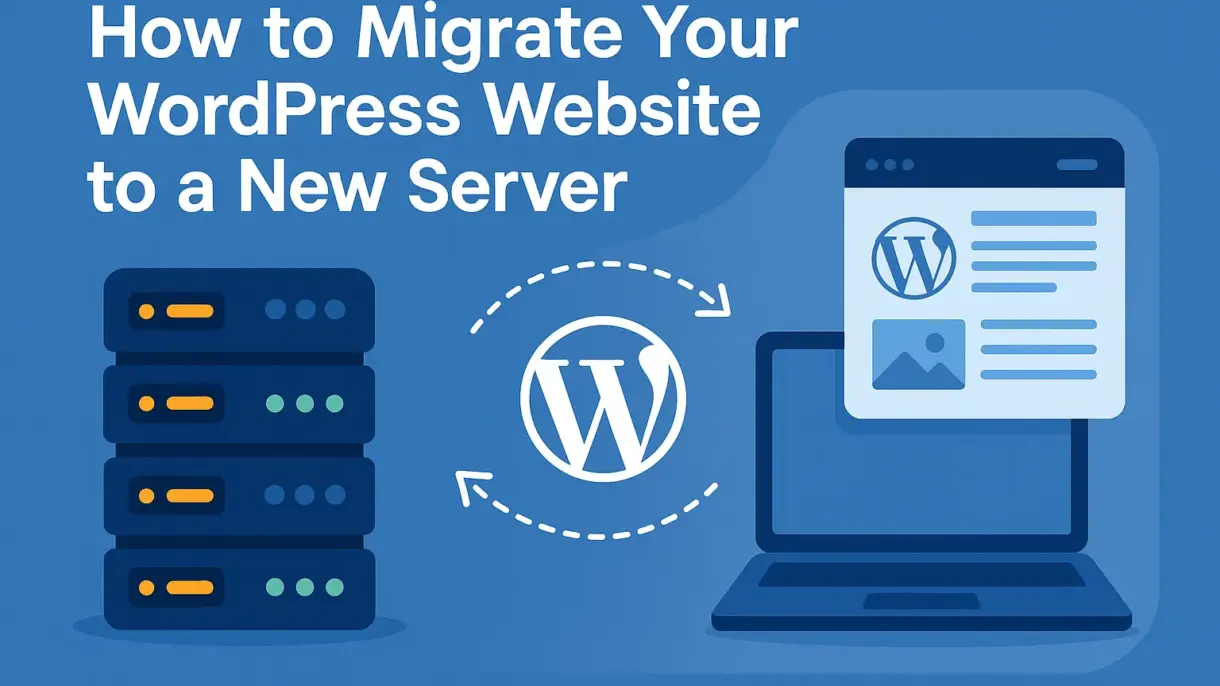
Grab a cup of coffee, sit back, and let me take you through the process of migrating your WordPress website to a new server. You might be thinking, “That sounds complicated!” But trust me, it’s not as hard as it sounds. Let’s break it down step by step, with a bit of humor along the way. Ready? Here we go!
Step 1: Meet Your Old Server — The Starting Point
First, we start with your old server. Think of it as the reliable ship that’s been carrying your site so far, but it’s time for a change.
- Log in to the Current Server:
Start by logging into your old server’s control panel. This is where all the magic happens. - Go to the File Manager:
This is where you’ll find the files that make your website run. We need to grab a couple of important files from here. - Download the wp-content Folder:
The wp-content folder is the heart of your WordPress site. It holds your themes, plugins, and media uploads. Download it to your computer for safekeeping. - Check the wp-config.php:
Open the wp-config.php file and note down the database name (DB_NAME). This is your map to the database. - Export the Database in phpMyAdmin:
Go to phpMyAdmin and export your database in SQL format. This will make sure you don’t lose any data when moving to the new server.
Once everything is packed — the wp-content folder and database — we’re ready to jump to the new server!
Step 2: Enter the New Server — The New Adventure Begins
Now we’ve arrived at the new server. This is where the fun begins — your website’s new home!
- Log in to the New Server:
Log in to the control panel of your new server and get ready to set things up. - Back up the Entire public_html or htdocs Folder:
Before we make any changes, let’s back up the public_html (or htdocs) folder. It’s always good to have a backup just in case. - Replace the wp-content Folder:
Now, upload the wp-content folder you downloaded from the old server. This is the part where your website’s theme, plugins, and uploads come to life on the new server. - Update the wp-config.php:
Don’t forget to update the wp-config.php file with the new database name. This ensures your site knows where to find its database. - Export the Database for Safety:
Go to phpMyAdmin on the new server and export the current database for backup. This will give you a safety net in case anything goes wrong. - Drop the Old Tables (Don’t Worry, It’s Safe!):
Now, clear the old tables in the database. This helps avoid any duplicate issues later on. Don’t worry — we’ll be importing the correct database soon. - Import the Old Database:
Upload the SQL file you exported from the old server into the new database. This will restore your website’s content and structure on the new server.
Step 3: Time to Update the URLs — Your Website’s New Identity
Now that your website is set up on the new server, it’s time to update any old URLs, especially if you’ve changed domains.
- Update the wp_options Table:
In phpMyAdmin, go to the wp_options table and replace the old URL with the new one. This will make sure your site points to the right address. - Install the Better Search Replace Plugin:
This plugin will help you quickly replace all instances of the old URL across your entire site. Install and activate it. - Run the Plugin to Update All URLs:
Use Better Search Replace to replace the old URL with the new one everywhere on your site. It’s a simple way to ensure nothing gets left behind.
Step 4: Test the Site — Is the New Server Ready?
Before we wrap things up, let’s make sure everything is working properly on the new server.
- Log in to the New Admin Panel:
Log in to the admin panel of your new site and check if everything looks good. You want to make sure you have access and can make changes if needed. - Check the Site:
Visit the front end of your site and test everything — pages, posts, images, and links. If everything is working smoothly, you’ve done it! - Troubleshooting:
If something’s not right, don’t panic. Double-check your URL settings, make sure the database import was successful, and confirm you uploaded the right files.
Conclusion: You Did It — The Migration is Complete!
And just like that, you’ve successfully migrated your WordPress site to its new server! Congratulations! What once seemed like a daunting task is now behind you. Take a moment to relax and enjoy the smooth sailing of your website on its new home.
So, have you ever migrated a website before? What was your biggest challenge? Or maybe you’ve got a tip or two to share? Drop a comment below and let’s chat — I’d love to hear your stories!